
Description
Optimise Your Vehicle’s Lighting System with Precision
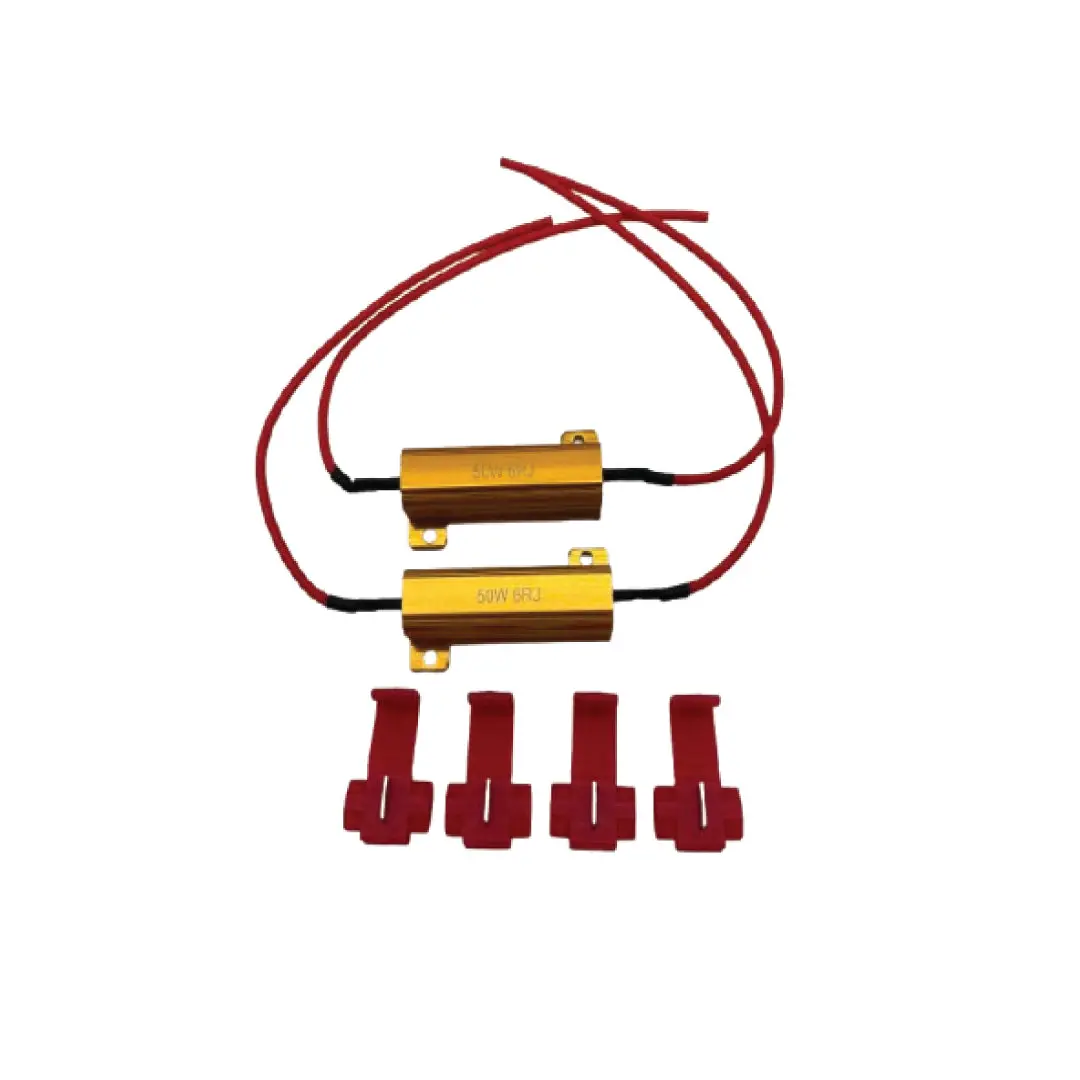
Our 12 Volt 50W / 75W / 100 W Load Resistors are essential for preventing hyper-flashing or bulb-out warnings in vehicles equipped with LED lights. These resistors simulate the power load of traditional halogen bulbs, ensuring your LEDs function smoothly without triggering false signals in your vehicle’s electrical system. With durable construction and easy installation, these load resistors are designed to handle high heat and deliver consistent performance.
Compatible With Our Tray Light Range.
Options:
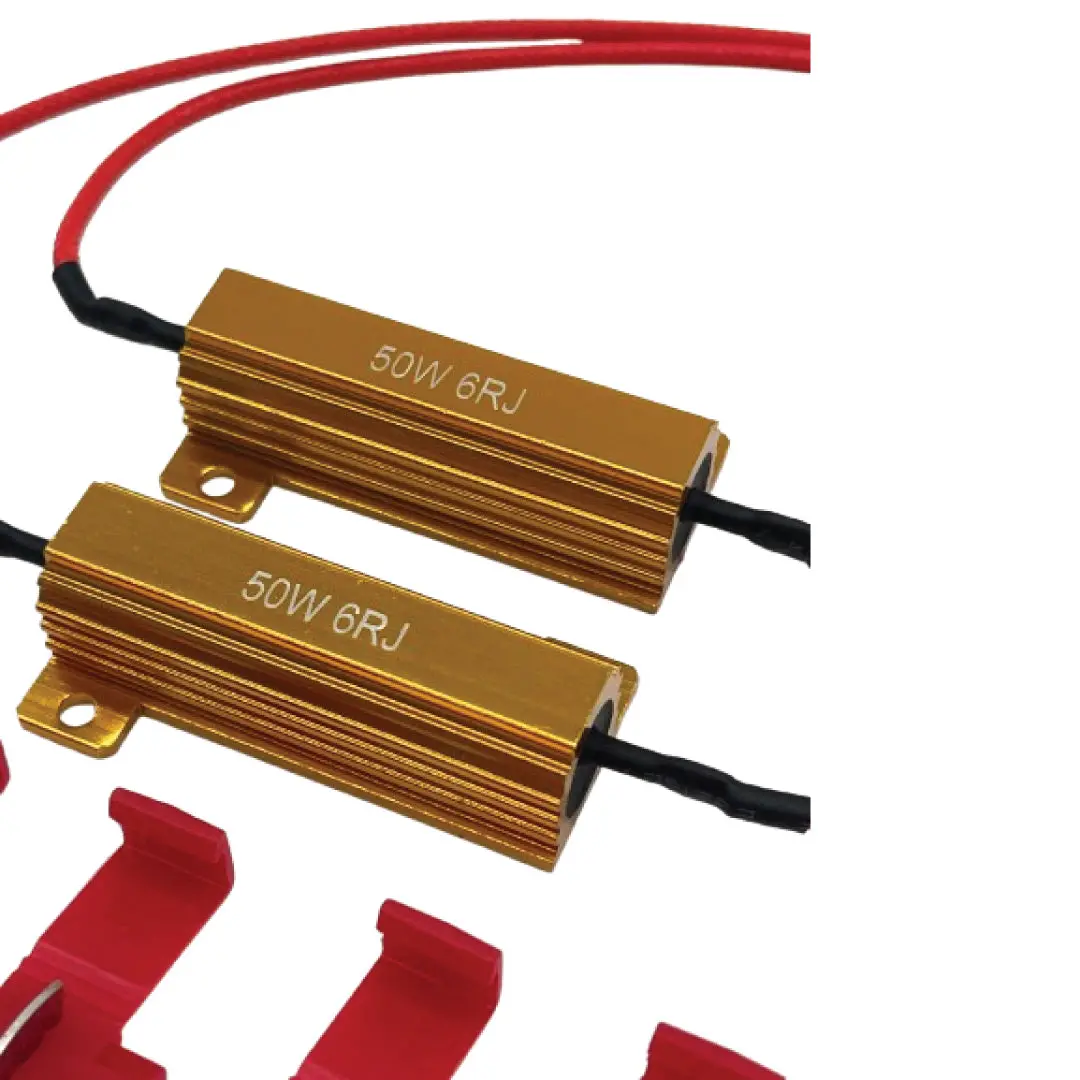
50 W – 6 ohms
75 W – 8 ohms
100 W – 6 ohms
Features:
- 50W Power Rating: Ideal for most automotive applications, delivering precise load simulation.
- Prevents Hyper-Flashing: Corrects the fast-blinking issue caused by low-power LED lights.
- Resolves Bulb-Out Warnings: Ensures your vehicle’s onboard computer recognizes LED bulbs correctly.
- Durable Aluminum Housing: Heat-resistant and designed for long-lasting performance.
- Easy Installation: Comes with pre-attached wire leads for quick and secure installation.
- Universal Fit: Compatible with 12V vehicles, including cars, trucks, motorcycles, and more.
How To Install:
1: Mount on a Metal Surface:
Secure the load resistor to a metal surface (like the vehicle’s chassis or a dedicated mounting bracket) to help dissipate heat effectively, as it can reach temperatures of up to 170°C during operation. Make sure it’s mounted away from any sensitive components or wiring that could be damaged by heat.
2: Wire Between Lamp Inputs:
Identify the Wires: Locate the positive (often marked with red or a ‘+’ symbol) and negative (usually black or a ‘-‘ symbol) input wires of the LED lamp you are working with.
Disconnect Power: Before making any connections, disconnect the power supply to avoid accidental short circuits or shocks.
Connect the Resistor: Take one end of the resistor and connect it to the positive wire of the lamp. Connect the other end of the resistor to the negative wire of the lamp, ensuring that the resistor joins the circuit and allows the current to flow continuously. This wiring method allows the resistor to load the circuit properly without affecting the vehicle’s chassis.
3: Final
Secure Connections:
Use Proper Connectors: Utilize heat shrink tubing or electrical connectors to secure the connections and prevent exposure to moisture and corrosion.
Double Check Connections: Ensure that all connections are tight and insulated properly to avoid any loose wiring, which can lead to electrical issues or flickering lights.
Test the System: After installation, reconnect the power supply and test the lights to ensure everything is functioning correctly. Check for any hyper-flashing or error codes, confirming the resistors are properly wired and operational.
Important:
It’s important to mount the resistor on a metal surface, as it can heat up to 170°C during operation.
Connecting to the chassis can cause grounding issues, which may lead to problems with your vehicle’s lighting system. Proper installation ensures reliable performance and avoids electrical faults.
2 Year Warranty (24 months)
Specifications:
– 50 Watt 6Ω Ohms
– 12 Volt
Explore more from our collection.
Reviews
There are no reviews yet.